
Knowing that I've got a little beanette growing inside of me, I decided it was time to start making her some accessories! Crafting and putting together these little flowers for her was so sweet. I'm looking forward to adding these little joys to her hair, bookbag, my diaper bag, or pinning them to one of her sweet little outfits. Below are the supplies I used, flowers I made and links to the directions, with a few added tips from yours truly. Enjoy!
Tips:
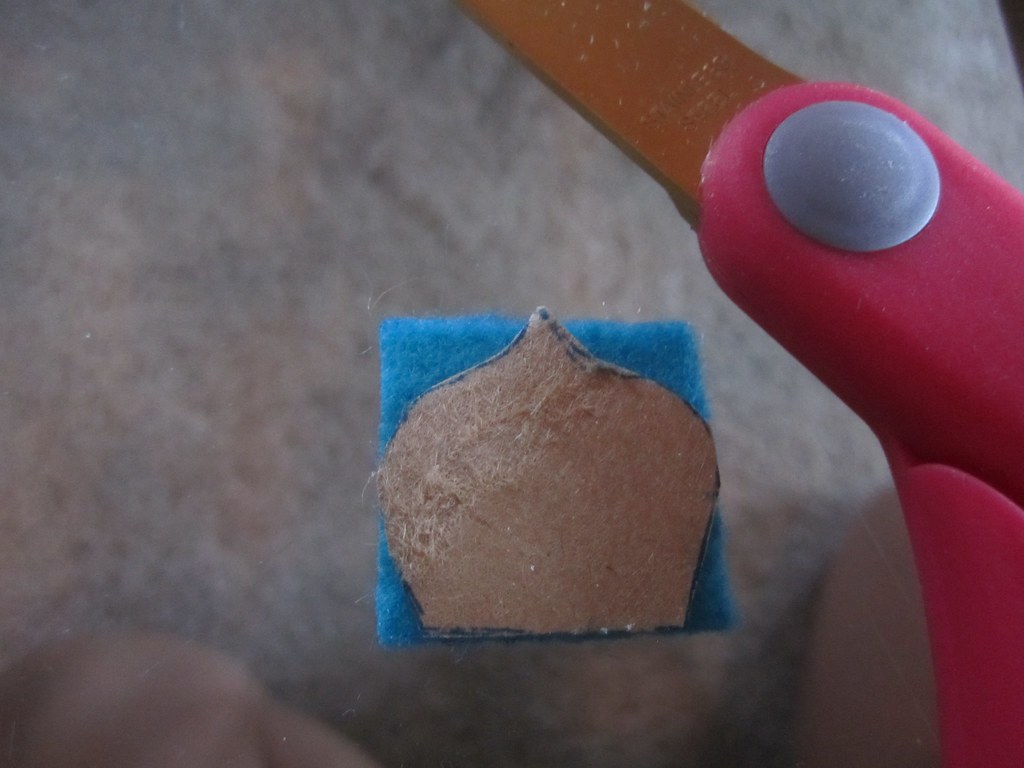
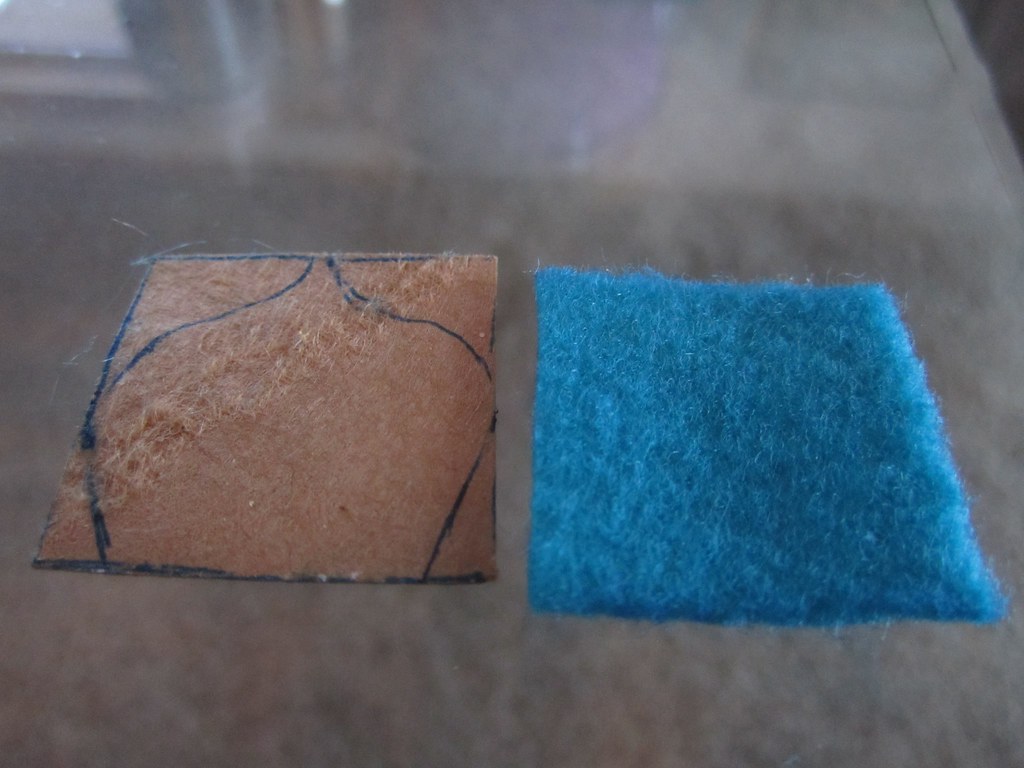
This flower is labor intensive, due to having to cut out and glue each petal individually. The directions tell you to use a fabric tacky glue, which I had, but it takes sooo much longer to dry. I like using the hot glue gun for its instant stickyness. ALSO - I created and used a stencil to estabilish uniformity with the shape of the petals. You want them all to look the same.

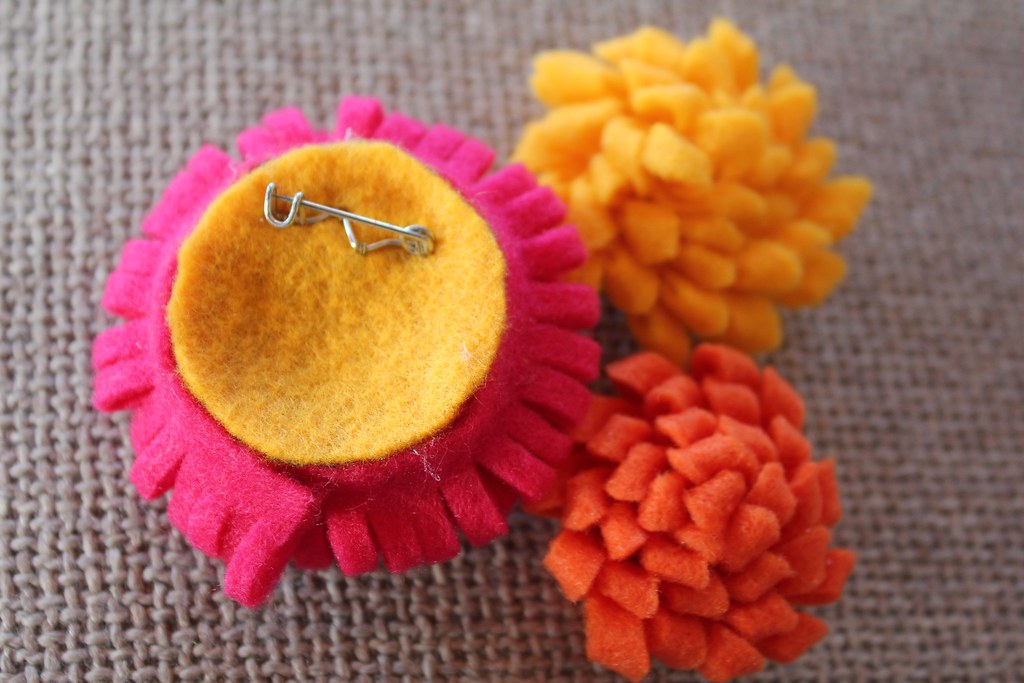
As you can see the pink flower on the left is slightly different from the two smaller flowers on the right. Both types are straightforward. You can make one of these flowers in 5 minutes!! I must admit these would look a little better with a few leaves tucked behind them. I am lacking a catalog of felt colors at the moment.
Tips:
The directions called for a fabric covered button for the center of the flower. I didn't have the materials for that... so instead I made little versions of Flower #2. I think they turned out cute!! ALSO when you read these directions you will see that the petals are all strung together on a string.. you tie the two ends of the string together to form the circular arrangement of the petals... One thing I did after that part of the directions was to hot glue, with just a dot, the sides of the petals together so they better kept their shape and wern't able to shift around as much.
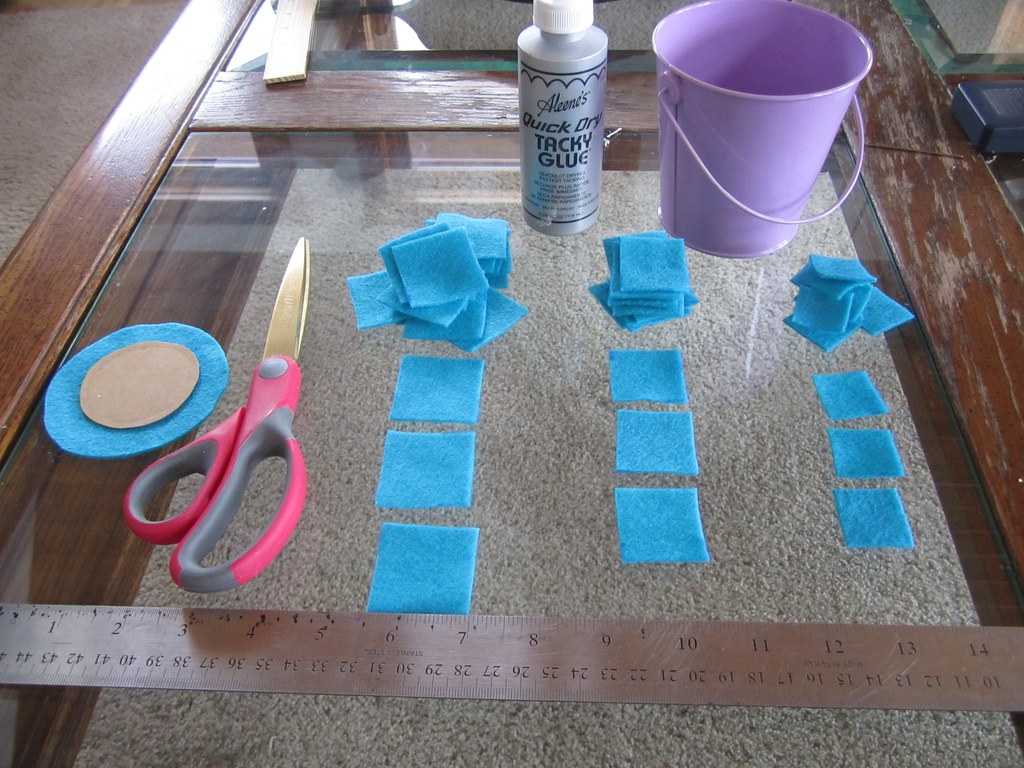
SUPPLIES:
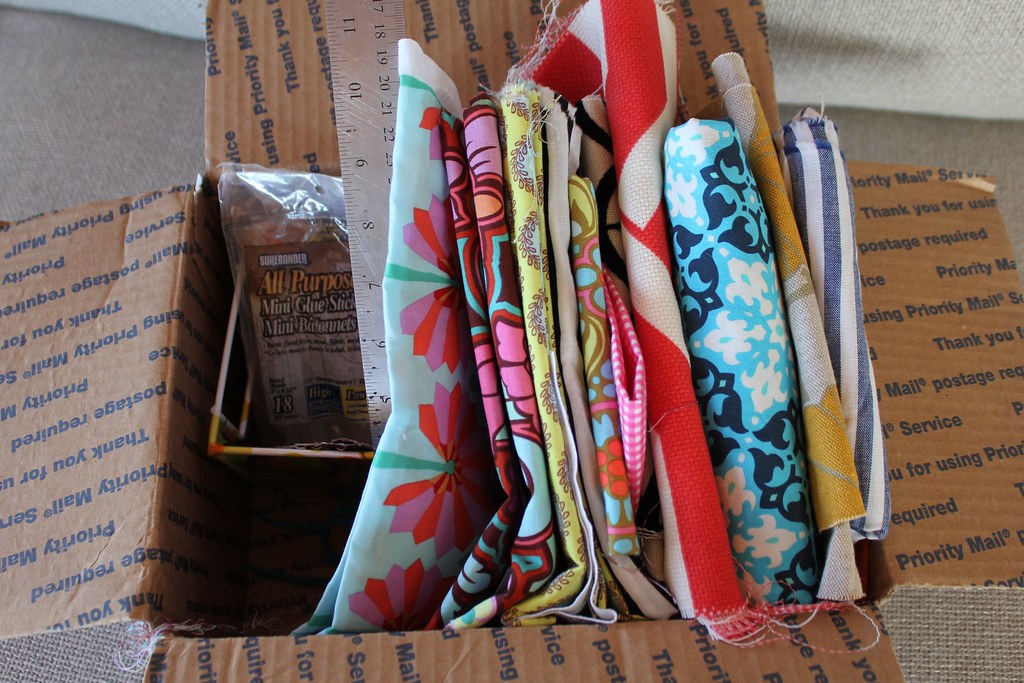 |
| fabric, felt (i used all of mine), ruler, hot glue |
 |
| paper and fabric scissors, pen, needle and thread, hot glue gun, directions |
FLOWER #1
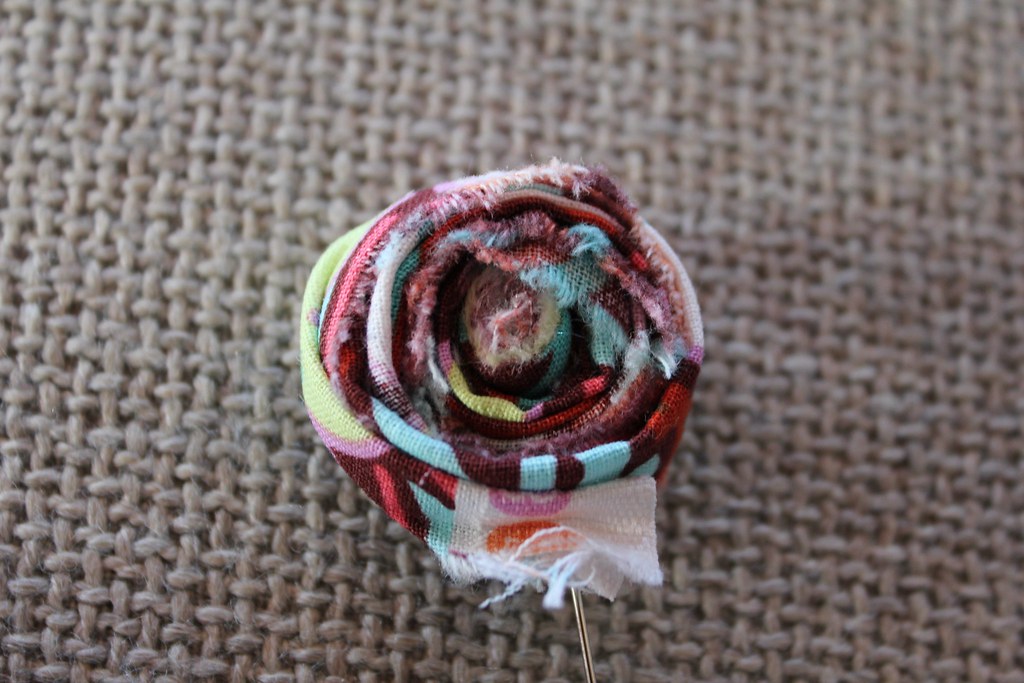
The first flower I made took the longestttt.
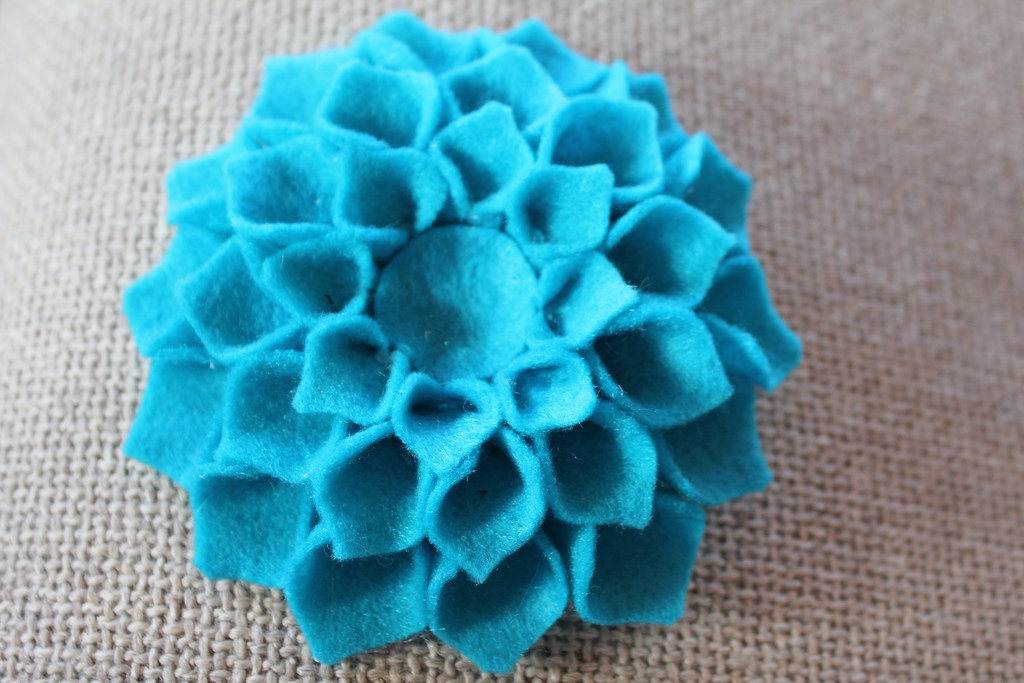 |
| i left the center bare. looking for a nice little jewel to add. |
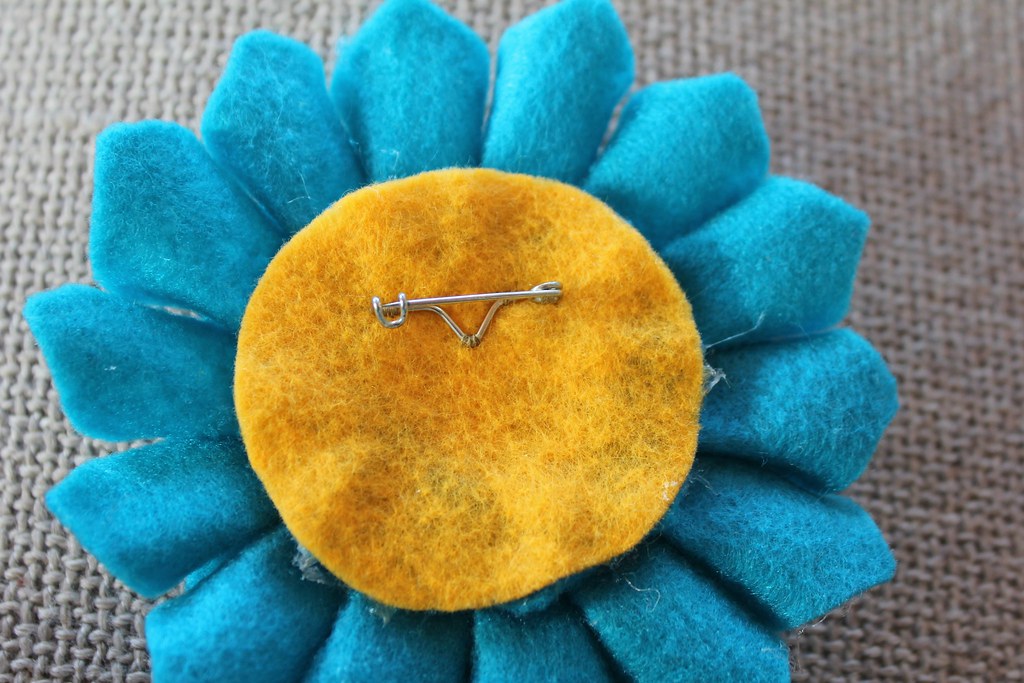 |
| old pins around the house? we did.. tom took his apart so i could sew these onto the felt backing. |
This flower is labor intensive, due to having to cut out and glue each petal individually. The directions tell you to use a fabric tacky glue, which I had, but it takes sooo much longer to dry. I like using the hot glue gun for its instant stickyness. ALSO - I created and used a stencil to estabilish uniformity with the shape of the petals. You want them all to look the same.
Directions:
FLOWER #2
As you can see the pink flower on the left is slightly different from the two smaller flowers on the right. Both types are straightforward. You can make one of these flowers in 5 minutes!! I must admit these would look a little better with a few leaves tucked behind them. I am lacking a catalog of felt colors at the moment.
Directions:
FLOWER #3
FLOWER #4
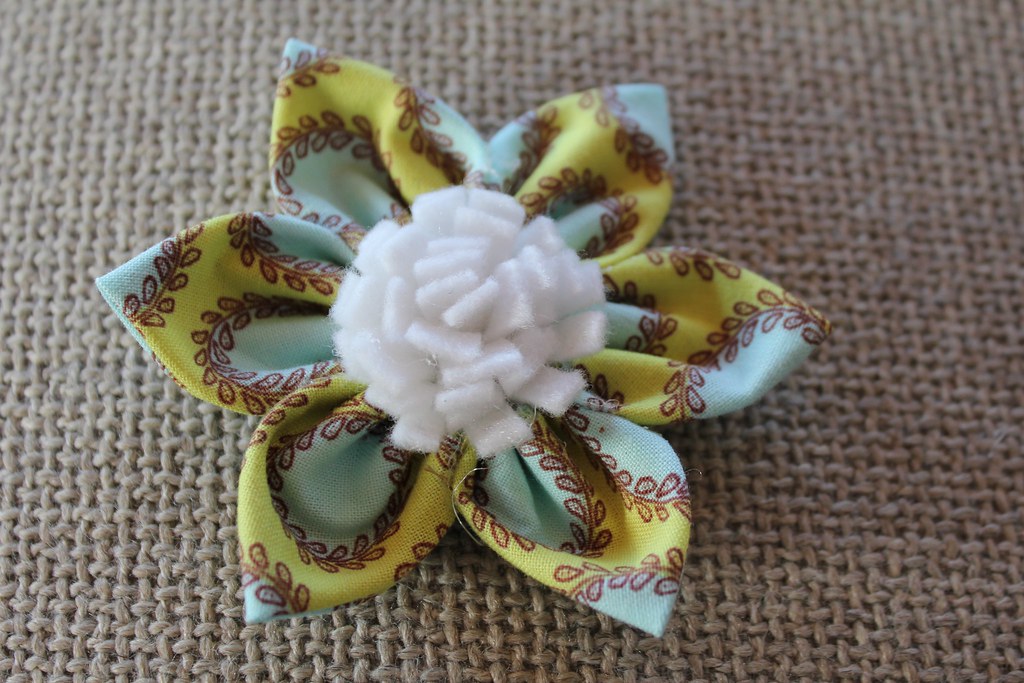
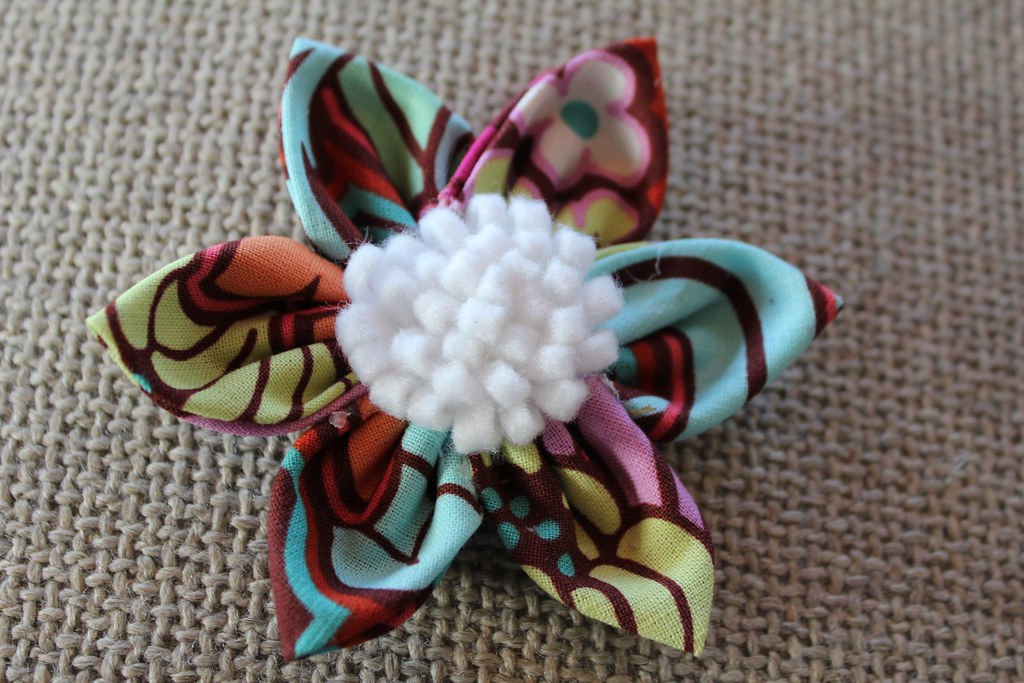
These flowers are my FAVORITE! And to boot, they don't take that long... maybe 30 minutes!
Tips:
The directions called for a fabric covered button for the center of the flower. I didn't have the materials for that... so instead I made little versions of Flower #2. I think they turned out cute!! ALSO when you read these directions you will see that the petals are all strung together on a string.. you tie the two ends of the string together to form the circular arrangement of the petals... One thing I did after that part of the directions was to hot glue, with just a dot, the sides of the petals together so they better kept their shape and wern't able to shift around as much.
Directions:
I can't wait to see _____________ wear these!!
C.


love. love. love.
ReplyDelete